Area Assignment
Each user can have access to one or more areas when using Track application.
Changing the access to specific areas is completed on the Properties screen,
under the Areas tab.
Open the Areas tab
From the Accounts screen, right-click the mouse on the Login ID line item to open the pop-up
menu.
Click Properties to
open the Properties of [the selected login ID] screen. The Properties
screen will display the tabs according to the selected login ID's
assigned user profile.
Click the Areas
tab.
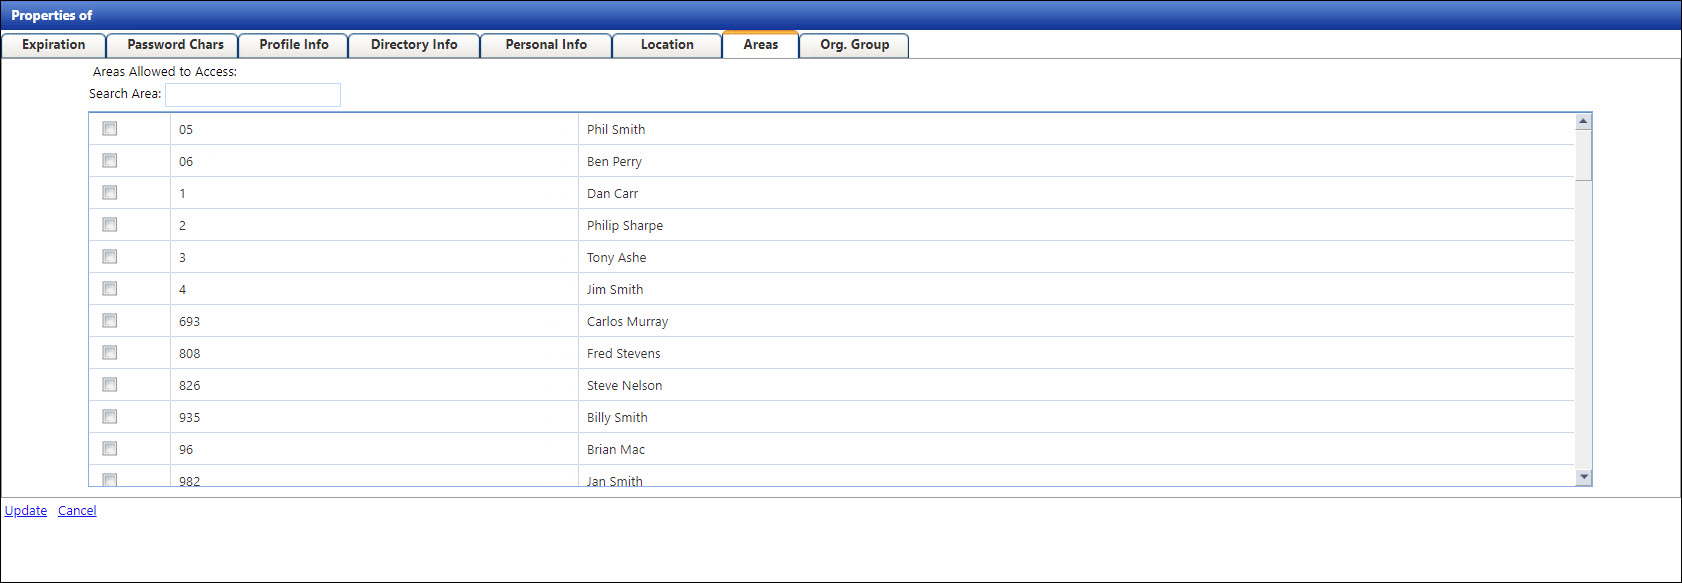
Assign or unassign areas
If
using the Area ID Search, enter alpha-numeric characters into the
Search Area text box.
From the Areas Allowed to Access list box, select or deselect
checkboxes next to the areas to assign or unassign the areas to and
from the selected login ID.
Click Update to save
the changes and return to the Accounts screen.